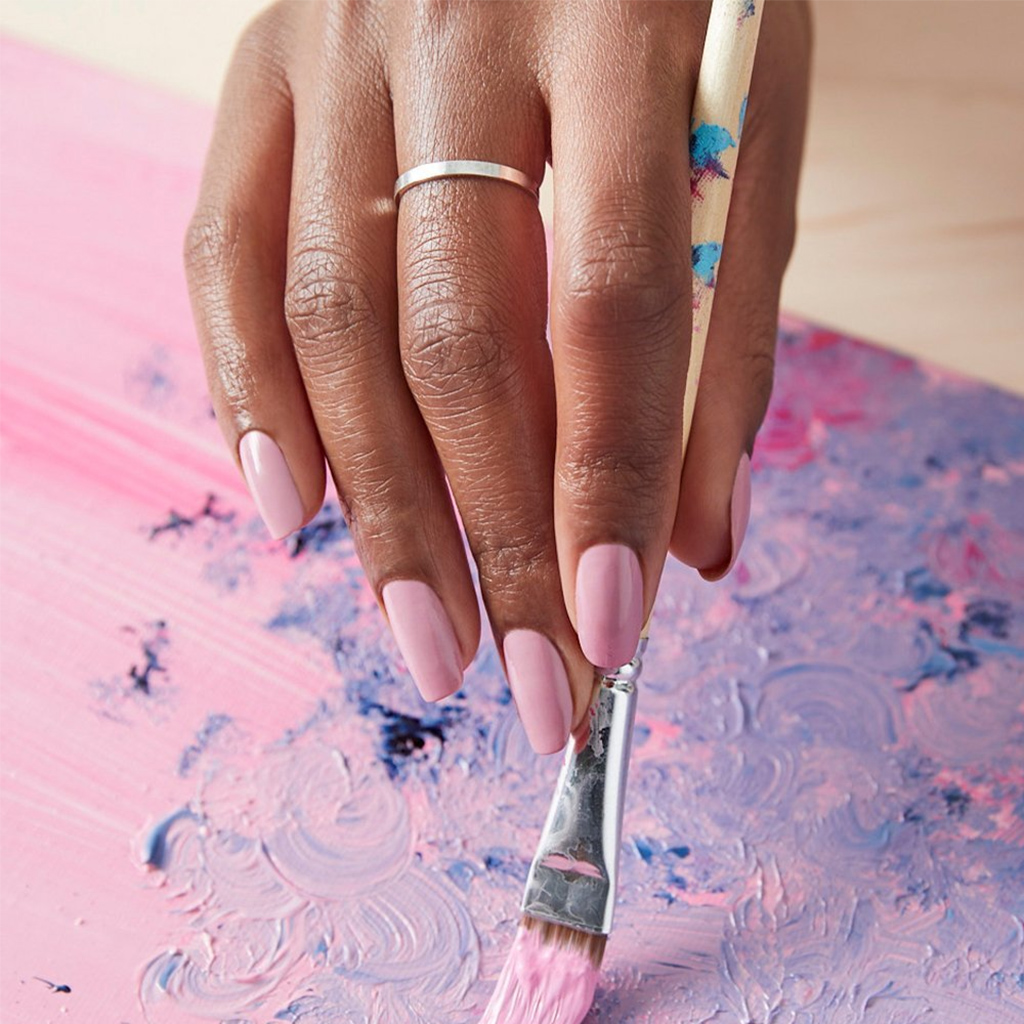
The fascination for nail polish has always been there for women for ages. Today, with the spread of social media like Instagram and Pinterest, the craze for showing off their well-manicured nails has grown manifold. Hence, you have more women, especially the younger folk trying out various experiments with gel color polish to look different from the others. We shall look at a couple of such designing attempts in this blog.
Experimenting with your nail manicures is not a new phenomenon because people have been doing it for many years. However, today, there is greater awareness because of social media. Besides, you get excellent gel polish products in the market that encourage you to try out different things.

The characteristic of gel polish is that you can try out variations like nail art, artificial nails, or even glitter on the nail to look different from the others. We shall learn a couple of tricks, but it is essential to be good at the basics.
The Gel Manicure
While the nail salon is the best place to have a gel manicure, the pandemic has forced people to master the technique at home. So if you wish to go for a DIY job, you should have the best gel nail polish kit ready on hand.
The gel polish nail kit contains a range of gel polish color options, basecoats, topcoat applications, nail files, buffs, cotton pads, nylon wipes, acetone, cuticle pusher, cuticle oil, and most importantly, the UV lamp kit. The UV lamp is crucial because every gel color coat needs curing to allow the gel to solidify into a thick layer of polish.
In addition, you can keep your nail art designs and glitter ready because you will need these accessories for your exciting designs.
Start with the prepping
The procedure starts with preparing your nails for the manicure. Sterilized nail cutters and nail files are essential components of the best gel polish kit. You can use nail cutters to cut your nails into the right shapes. However, you should not have sharp edges as they can cause the nail polish layer to lift. Instead, use a sterilized nail file to smooth out the edges.
You should not forget the cuticles, as they can come in the way of an attractive nail manicure. The solution is to push them back into their grooves gently using a cuticle pusher. A nail buff is an ideal tool to rough up the nail surface to allow the basecoat to stick to it. Now, you can wash your nails with an alcohol-based solution to eliminate the oils and grease that could stick to your nail. Your hand sanitizers can also do the job equally well.
The gel polish application
Once your nails are ready for the manicure, you should apply the basecoat in thin layers from the base to the edges. A thin coat is the best because it allows you to apply thick polish layers subsequently. In addition, the basecoat curing under the UV lamp is essential to allow the polish layers to stick to it.
Choose your favorite gel color and start applying it on the nail from the base to the edges in straight lines. It is better not to overlap the polish layers as they can become unnecessarily thick. Capping the edges is critical because the gaps at the edges can cause the polish layer to lift. On applying the polish, you have to cure it under the UV lamp for a minute or two, depending on the color and the thickness of the coat.
Get the embellishments
You can proceed with your nail embellishments like nail art design on the nail now. It is advisable to use a thin brush to paint your designs. Once you finish the designs, it is advisable to cure the polish layer again for 30 seconds to a minute.
If you wish to apply glitter, you can sprinkle it over the nails now. They can give the necessary shine and make your nails stand out from the rest. Then, finally, you can proceed with the topcoat application.
While applying the topcoat, you should note that a thin coat will end as a matte finish. However, if you desire a glossy feel to your nails, a thicker coat is necessary. Nevertheless, curing each topcoat layer under the UV lamp is essential to allow the coat to harden and impart the necessary shine.
The nails will appear a bit tacky after the topcoat application and curing process. You can use a cotton swab or wipes to remove the tacky layer gently. Now, your nails are ready to shine for a minimum of three weeks. Then, you can have a fantastic time showing off your manicured nails on your social media accounts. It is a heavenly feeling indeed.